This guide outlines a robust approach for implementing file uploads to AWS S3 using pre-signed URLs in a Node.js, Express, and MongoDB stack. The process ensures secure, scalable, and efficient file handling for modern web applications.
Backend Setup
1. Project Initialization and Dependencies
- Create a new directory for your backend API.
- Install required dependencies:
npm install express nodemon mongoose aws-sdk- Set up your AWS S3 bucket and obtain your access key, secret key, bucket name, and region.
- Configure your S3 bucket’s CORS policy to allow required HTTP methods:
[
  {
    "AllowedHeaders": ["*"],
    "AllowedMethods": ["PUT", "POST", "DELETE"],
    "AllowedOrigins": ["*"],
    "ExposeHeaders": []
  }
]
2. Environment Configuration
- Create a
.envfile with the following variables:
AWS_ACCESS_KEY_ID=your_access_key
AWS_SECRET_ACCESS_KEY=your_secret_key
AWS_REGION=your_region
AWS_BUCKET=your_bucket_name
AWS_EXPIRES_IN=3600
MONGODB_DB=db_name
MONGODB_URL=mongodb+srv://username:[email protected]
MONGODB_USER=username
MONGODB_PASSWORD=password
3. AWS S3 Instance Setup
- Initialize the AWS SDK and configure S3:
import AWS from 'aws-sdk';

AWS.config.update({
  accessKeyId: process.env.AWS_ACCESS_KEY_ID,
  secretAccessKey: process.env.AWS_SECRET_ACCESS_KEY,
  region: process.env.AWS_REGION,
  signatureVersion: 'v4',
});

const s3 = new AWS.S3();
export default s3;
4. Generating Pre-Signed URLs
- Create an Express route to generate a pre-signed URL:
router.get('/getPresignedUrl', getPresignedUrl);- Implement the
getPresignedUrlcontroller:
import { randomUUID } from 'crypto';

async function getPresignedUrl(req, res) {
  const ext = req.query.fileType.split('/')[1];
  const Key = `${randomUUID()}.${ext}`;

  const params = {
    Bucket: process.env.AWS_BUCKET,
    Key,
    ContentType: req.query.fileType,
    Expires: parseInt(process.env.AWS_EXPIRES_IN),
  };

  try {
    const url = await s3.getSignedUrlPromise('putObject', params);
    res.json({ url, key: Key });
  } catch (error) {
    res.status(500).json({ error: 'Failed to generate pre-signed URL' });
  }
}- This approach leverages AWS SDK’s
getSignedUrlPromisefor async/await compatibility and returns the URL and key to the frontend.
5. MongoDB Integration
- Set up a MongoDB connection using Mongoose to store file metadata as needed.
6. Server Startup
- Start your backend server:
npm start- Default port:
http://localhost:5000
Frontend Setup
1. Project Initialization
- Create a React app for the frontend:
npx create-react-app frontend
cd frontend
npm install axios
2. File Upload Logic
- Implement the file upload handler in
upload.js:
import axios from 'axios';

const uploadToS3 = async (e) => {
  e.preventDefault();
  const formData = new FormData(e.target);
  const file = formData.get('file');
  if (!file) return;

  const fileType = encodeURIComponent(file.type);
  const { data } = await axios.get(`http://localhost:5000/getPresignedUrl?fileType=${fileType}`);
  const { url, key } = data;

  await axios.put(url, file, { headers: { 'Content-Type': file.type } });
  return key;
};
3. Upload Form Component
- Create a simple upload form:
<div className='upload'>
  <form onSubmit={uploadToS3}>
    <input type="file" accept="image/*" name="file" />
    <button type="submit">Upload</button>
  </form>
</div>
4. Frontend Server Startup
- Start the frontend server:
npm start- Default port:
http://localhost:3000
Summary
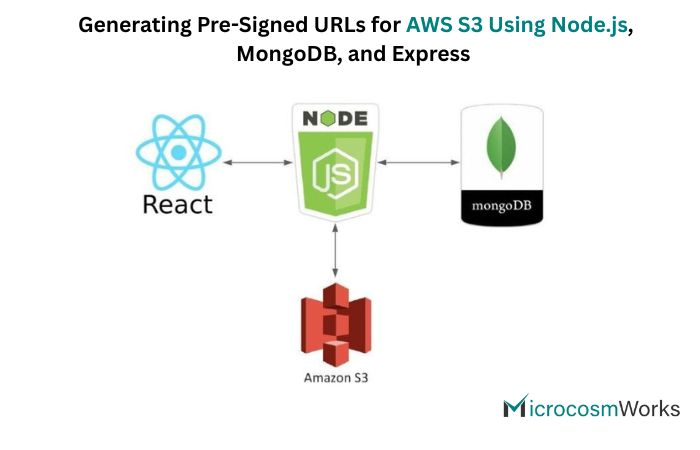
This architecture allows your React frontend to request a pre-signed URL from your Node.js/Express backend, then upload files directly to AWS S3 using that URL. File metadata can be stored in MongoDB for future reference. This method is secure, scalable, and keeps your AWS credentials safe on the server side.


